Create Amazon S3 credentials
To connect Amazon S3 as a destination in Renta, you need to provide an Access Key ID and a Secret Access Key. These credentials allow Renta to securely write data to your S3 bucket.
Prerequisites
Before you begin, ensure you have:
- An active AWS Account.
- An existing S3 Bucket where Renta will deliver the data.
Creating Amazon S3 Credentials
Follow these steps to create an IAM policy and user with the necessary permissions for Renta.
Sign in to your AWS account and navigate to the IAM (Identity and Access Management) dashboard.


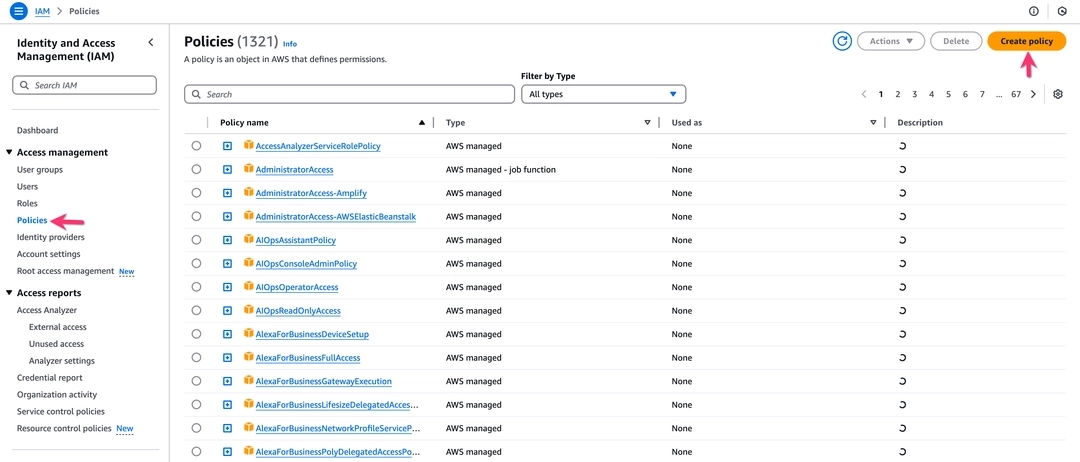
From the left sidebar, click Policies, then click Create policy. This policy will define what Renta is allowed to do with your S3 bucket.


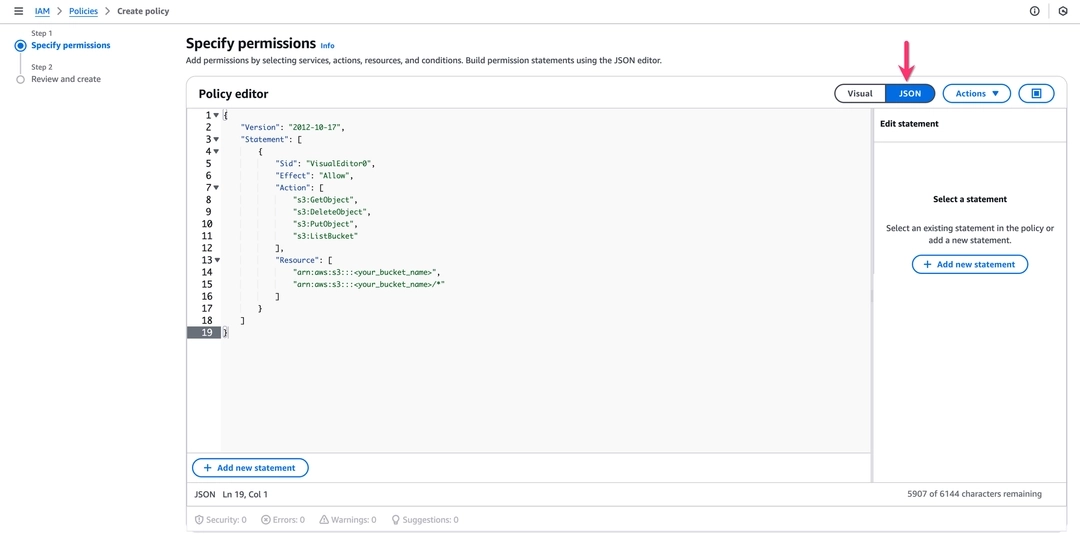
Select the JSON tab and paste the following policy. This configuration grants Renta permissions to list the bucket and perform upload, download, and delete operations.
{
    "Version": "2012-10-17",
    "Statement": [
        {
            "Sid": "RentaS3Access",
            "Effect": "Allow",
            "Action": [
                "s3:GetObject",
                "s3:DeleteObject",
                "s3:PutObject",
                "s3:ListBucket"
            ],
            "Resource": [
                "arn:aws:s3:::<your_bucket_name>",
                "arn:aws:s3:::<your_bucket_name>/*"
            ]
        }
    ]
}
Replace <your_bucket_name> with the actual name of your S3 bucket.
Click Next, name the policy (for example, RentaS3DestinationPolicy), and click Create policy.


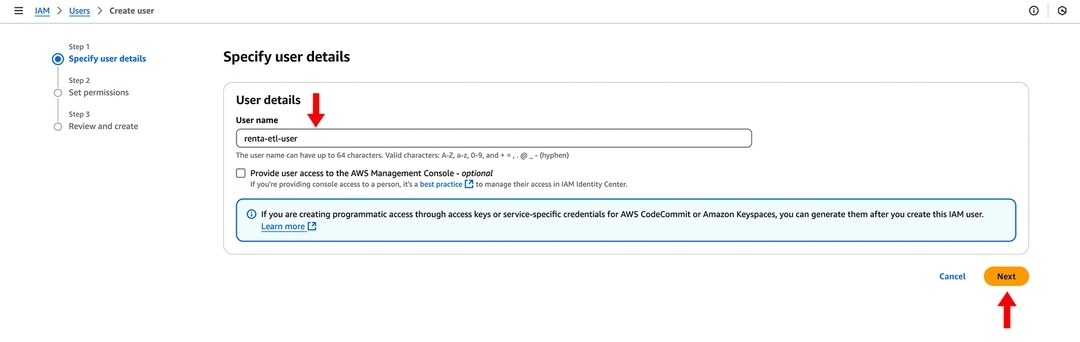
Navigate to Users in the IAM sidebar and click Create user. Enter a name (for example, renta-s3-user) and click Next.


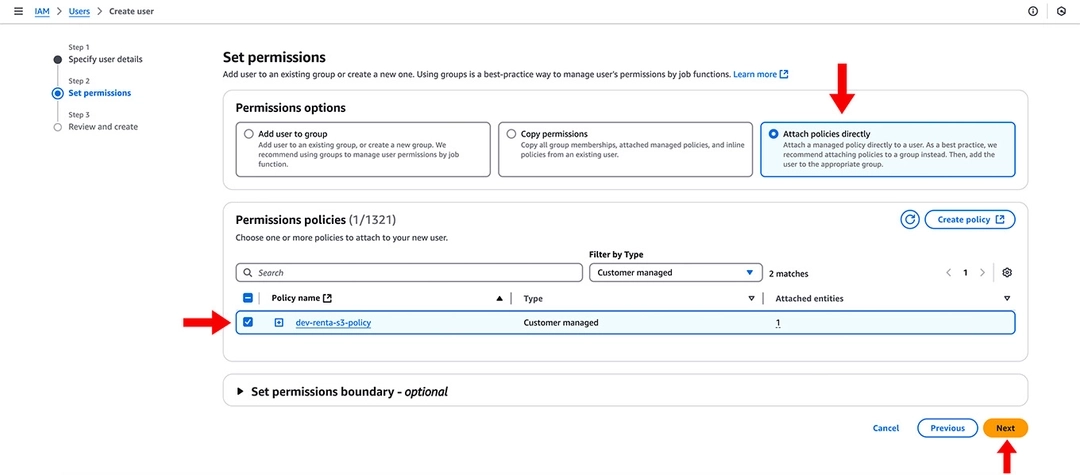
On the Set permissions page, select Attach policies directly. Search for the policy you created in Step 3, check the box next to it, and click Next. Review the details and click Create user.
From the Users list, click on your newly created user. Go to the Security credentials tab, scroll down to the Access keys section, and click Create access key.


Select Command Line Interface (CLI) as the use case, check the confirmation box, and click Next. You can optionally add a description tag. Click Create access key.
Your Access Key and Secret Access Key are now displayed.
You can now use these credentials to set up Amazon S3 as a destination in the Renta platform.
Ready to get started?
Build your data pipeline today or get a personalized demo. Start free!
Need help?
Get expert support to ensure your project succeeds. We're here to help!
Feature requests?
Help shape our product! Share your ideas for new features and integrations.