Создание учетной записи для Amazon S3
Для доступа к данным в S3 с помощью Renta необходимо создать учетные данные доступа (access credentials). Данные учетные данные включают ключ доступа (Access Key) и секретный ключ доступа (Secret Access Key).
Для их создания выполните шаги, которые мы рассматриваем в этом руководстве.
Шаг 1: Создайте IAM-политику
Создайте IAM-политику с разрешениями PutObject, GetObject, DeleteObject и ListBucket , которые необходимы для работы Renta с файлами вашем S3-бакета.
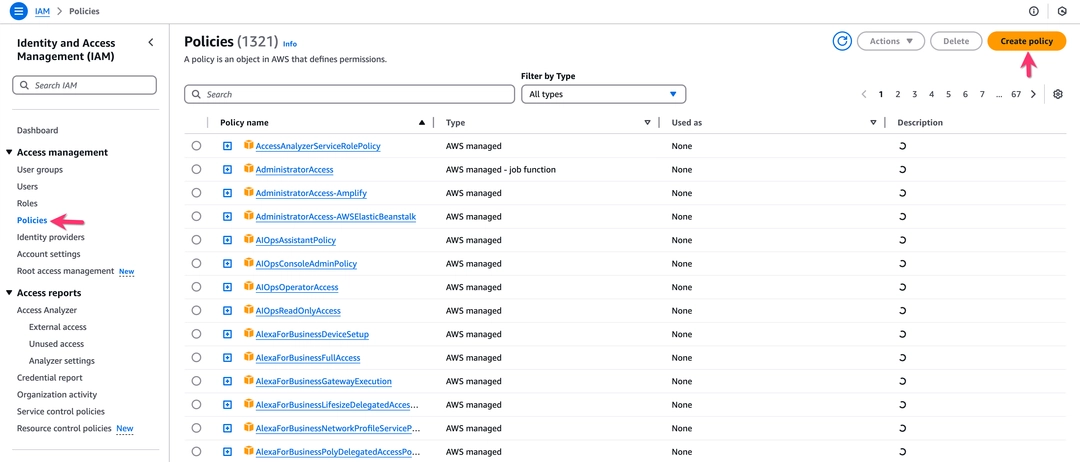
Войдите в консоль AWS IAM.
В левом меню выберите Policies (Политики) и нажмите Create policy (Создать политику).
![]()
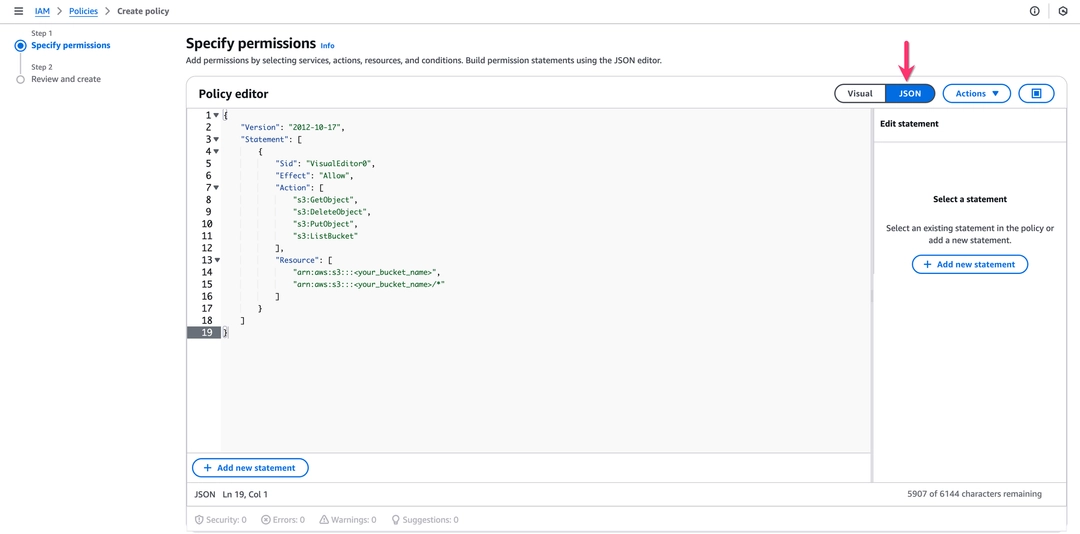
На странице Specify permissions выберите вкладку JSON:
![]()
Во вкладку JSON вставьте следующий код:


{
    "Version": "2012-10-17",
    "Statement": [
        {
            "Sid": "VisualEditor0",
            "Effect": "Allow",
            "Action": [
                "s3:GetObject",
                "s3:DeleteObject",
                "s3:PutObject",
                "s3:ListBucket"
            ],
            "Resource": [
                "arn:aws:s3:::<your_bucket_name>",
                "arn:aws:s3:::<your_bucket_name>/*"
            ]
        }
    ]
}
Замените <your_bucket_name> на имя вашего S3-бакета. Нажмите Next, затем укажите имя политики и нажмите Create policy.
Шаг 2: Создайте IAM-пользователя и назначьте политику
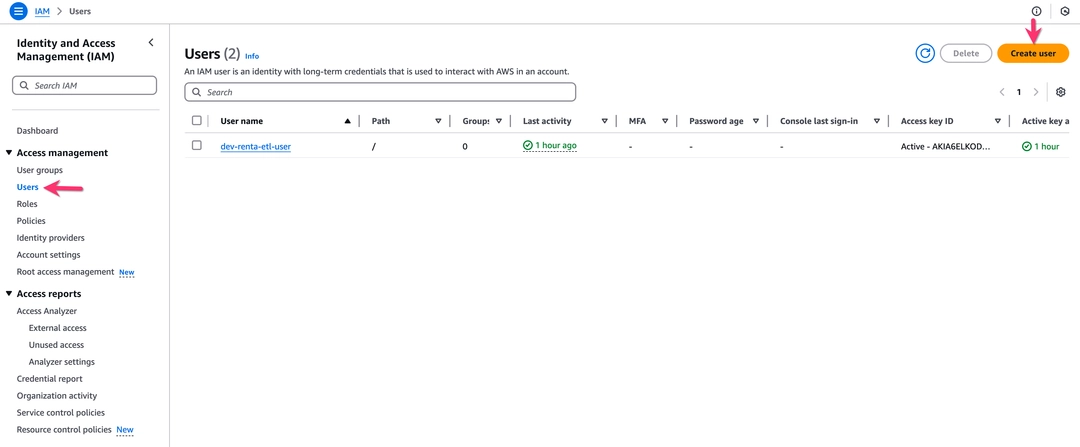
Войдите в консоль AWS IAM.
В левом меню выберите Users (Пользователи) и нажмите Create user (Создать пользователя).
![]()
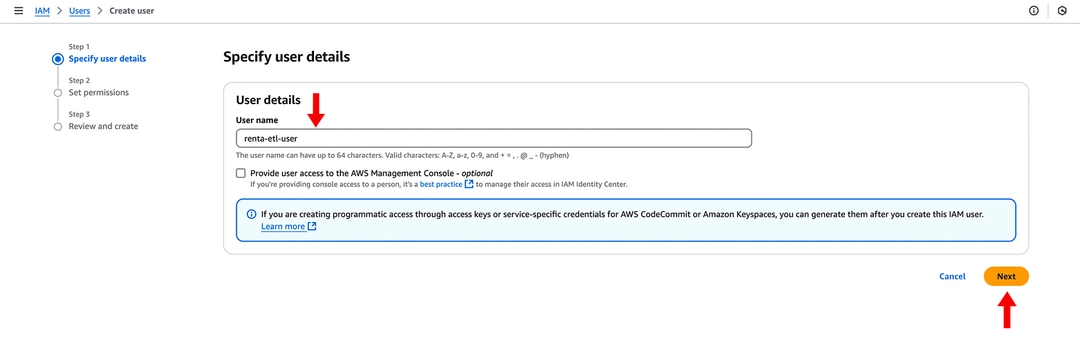
На странице Specify user details задайте имя пользователя и нажмите Next.
![]()
На странице Set permissions выберите Attach policies directly и отметьте созданную на предыдущем шаге политику.
![]()
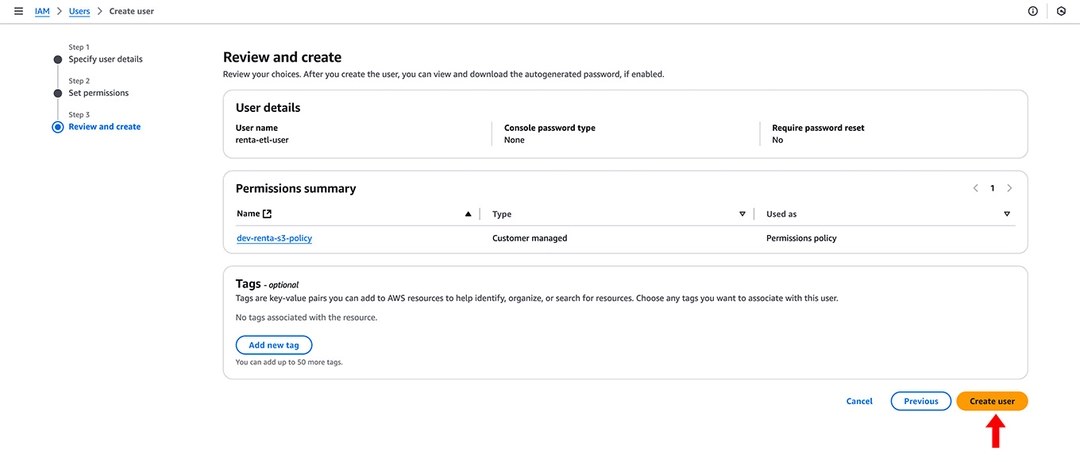
Нажмите Next.Нажмите Create user для завершения создания пользователя.
![]()


Шаг 3: Генерация ключей доступа
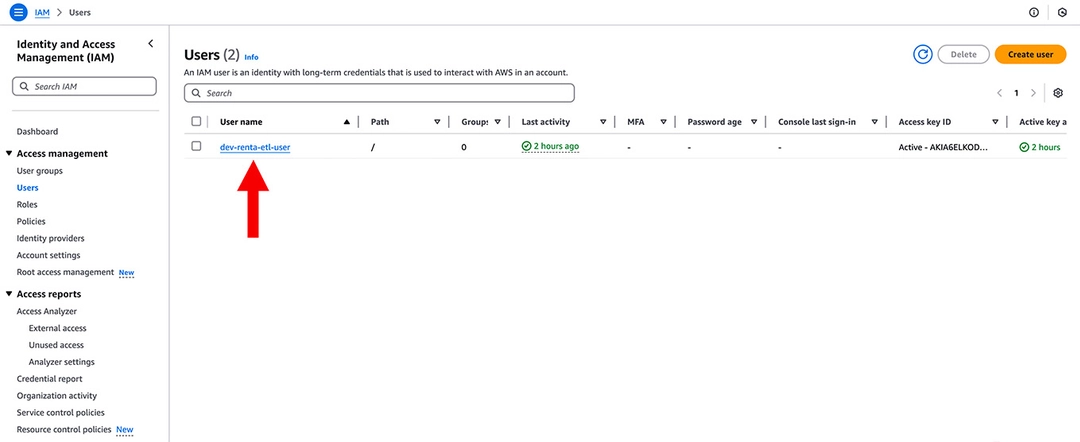
В IAM Console на странице Users выберите созданного пользователя.
![]()
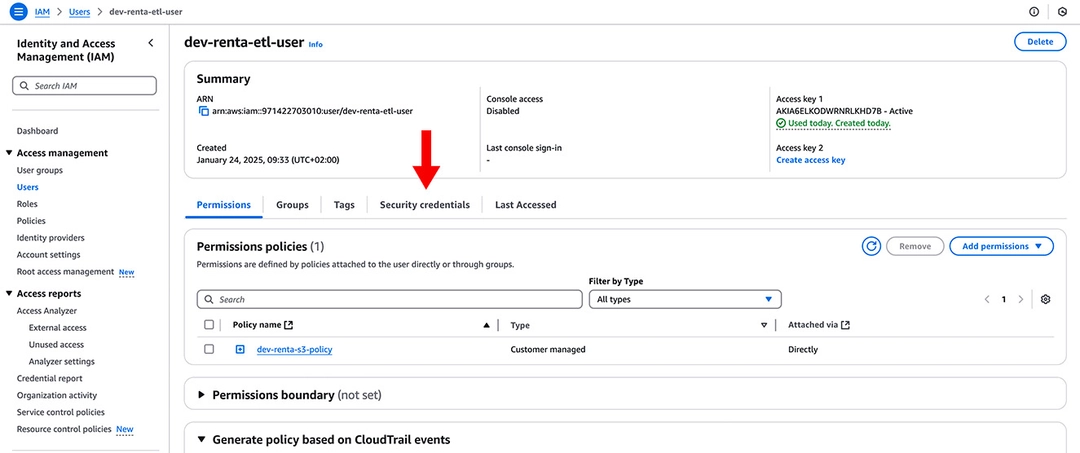
Перейдите на вкладку Security credentials.
![]()
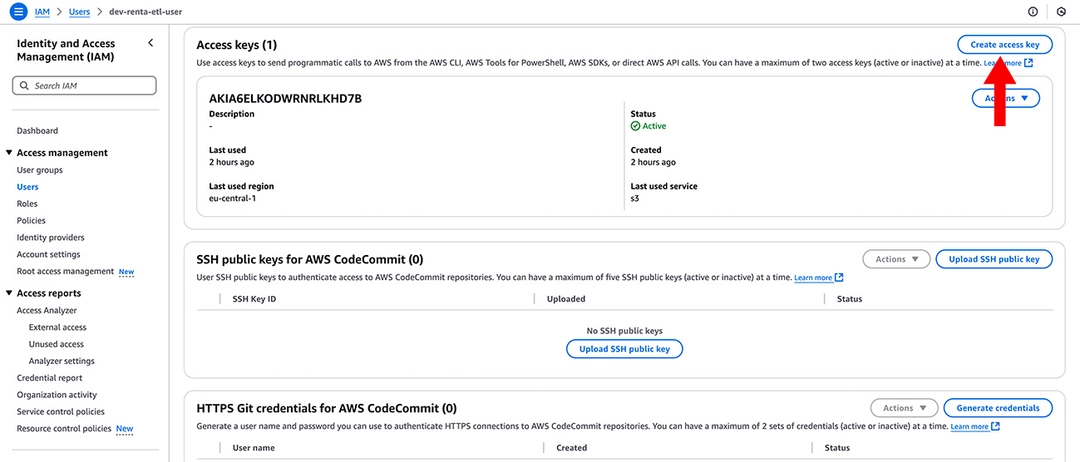
В разделе Access keys нажмите Create access key.
![]()
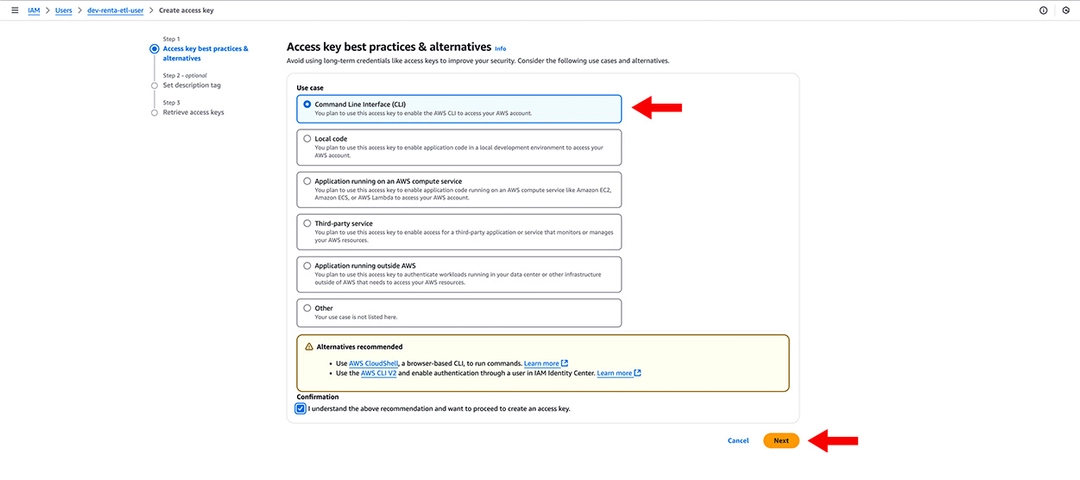
Выберите Command Line Interface (CLI) и отметьте галочкой согласие с условиями.
![]()
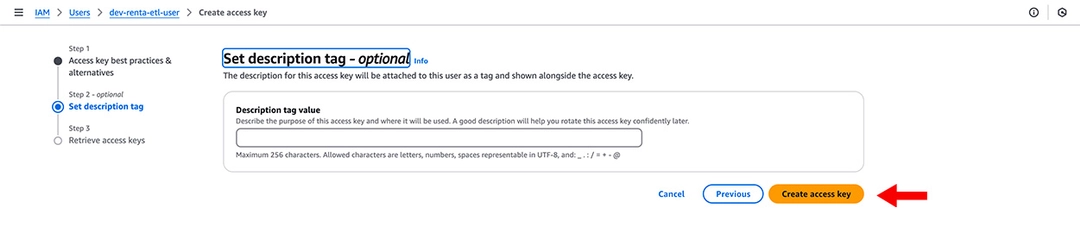
Нажмите Create access key.
![]()


Скопируйте Access Key и Secret Access Key и сохраните их в надежном месте. Теперь вы можете перейти к добавлению Amazon S3 в качестве точки назначения в ваших Renta data pipelines.
Ready to get started?
Build your data pipeline today or get a personalized demo. Start free!
Need help?
Get expert support to ensure your project succeeds. We're here to help!
Feature requests?
Help shape our product! Share your ideas for new features and integrations.